I recently decided to set up a personal devlog — a place to document what I’m building, learning, and occasionally breaking. I wanted the experience to be as smooth and distraction-free as possible, and Hugo absolutely delivered.
🍺 Why Hugo?
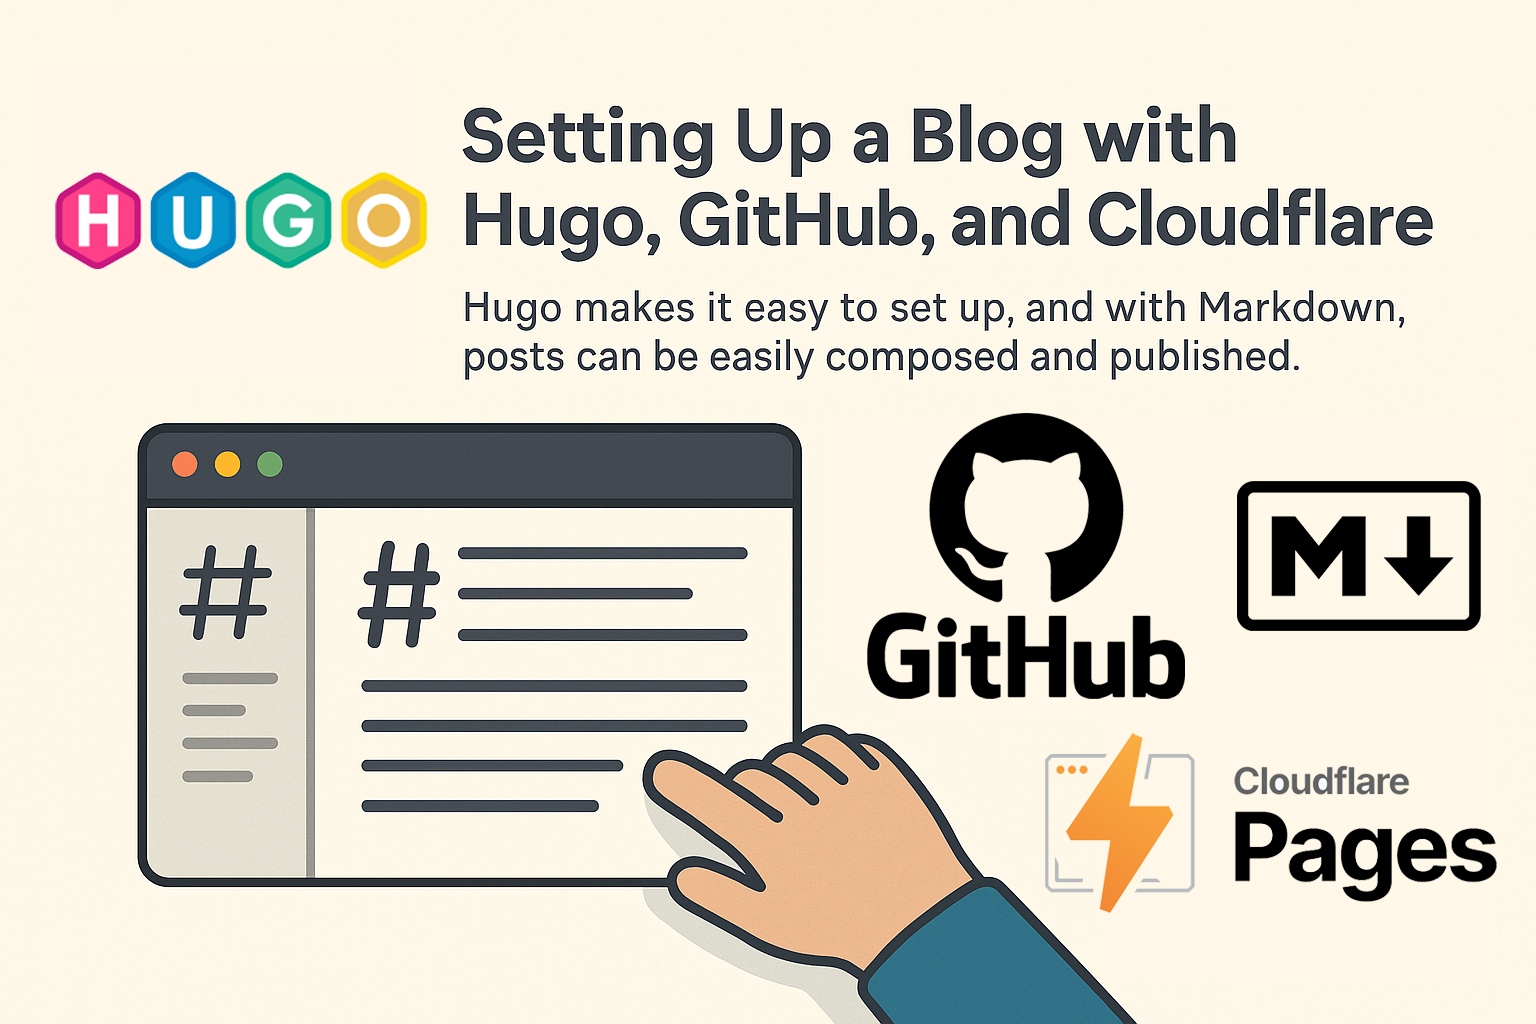
Hugo is a static site generator, but it feels like more than that — it’s blazing fast, easy to install, and built around Markdown, which means I can write posts in the simplest format possible.
Here’s what sold me:
- No database. No backend. Just content.
- Markdown all the way — lightweight, portable, and version-controllable.
- Themes like PaperMod that just work.
- Instant builds — Hugo is ridiculously fast.
🛠 My Setup Process (Step-by-Step)
Here’s the full breakdown of what I did to get this blog running:
✅ 1. Install Dependencies & Tools
Before getting started, I installed:
- Hugo Extended
- Git
- A GitHub account
- A Cloudflare account
On macOS, I used Homebrew:
brew install hugo git
Check that they installed correctly:
hugo version
git --version
✅ 2. Create the Hugo Site
hugo new site chrispy-me
cd chrispy-me
This creates the project structure with hugo.toml, content/, themes/, etc.
✅ 3. Install the PaperMod Theme
I added PaperMod as a submodule:
git init
git submodule add https://github.com/adityatelange/hugo-PaperMod.git themes/PaperMod
Then updated hugo.toml:
theme = "PaperMod"
✅ 4. Add a Hello World Post
I created my first test post:
hugo new posts/hello-world.md
Then edited content/posts/hello-world.md:
---
title: "Hello World"
date: 2025-03-26
draft: false
---
This is my first Hugo post!
Run a local dev server:
hugo server -D
Visit http://localhost:1313 — post should appear!
✅ 5. Customize the Landing Page
To personalize the homepage:
- Edited
content/_index.mdwith a centered intro + avatar - Enabled social icons
Updated hugo.toml (example):
[params.homeInfoParams]
  Title = "Hi, I’m Chris — aka Chrispy 👋"
  Content = "This is my devlog. I write about what I'm building, learning, and breaking."

[[params.socialIcons]]
  name = "github"
  url = "https://github.com/chrispyme"
✅ 6. Deploy with Cloudflare Pages
I pushed my site to GitHub (example):
git remote add origin https://github.com/chrispyme/chrispy.me.git
git add .
git commit -m "Initial Hugo blog"
git push -u origin main
Then on Cloudflare Pages:
- Created a new project from the GitHub repo
- Set:
- Build command:
hugo - Output directory:
public - Environment variable:
HUGO_VERSION = 0.121.2
- Build command:
- Clicked Deploy — done in seconds 🚀
✅ 7. Connect a Custom Domain
- Added my domain in the Cloudflare Pages dashboard
- Updated DNS records (CNAME or A) to point to Pages
- Cloudflare handled SSL + HTTPS automatically 💫
✅ 8. Tweak & Polish
- Customized font size, logo, spacing via
assets/css/extended/custom.css - Tested on desktop + mobile
- Ignored
public/,.css.map, and other build files via.gitignore
✅ 9. Future Add-on
- Added favicon + avatar under
static/images/(T.B.C.) - Set up Giscus for comments (T.B.C.)
✅ 10. Done!
Now I have a clean, version-controlled, super-fast personal devlog that:
- Builds instantly from GitHub
- Publishes new posts with a single
git push - Costs nothing to run
If you’re thinking of building your own blog or devlog, I highly recommend Hugo + GitHub + Cloudflare Pages. It’s fast, clean, and truly empowering.
Thanks for reading! 🙌
To sum it up: Hugo makes building a blog effortless, GitHub keeps everything version-controlled, and Cloudflare Pages takes care of deployment — all for free.
If you’re thinking of starting your own blog or devlog, I hope this guide helps you get started faster. Got questions or feedback? Feel free to reach out!
See you in the next post ✌️
-Chrispy
Comments